
Anyone remember the Dark Ages? Those uncertain times when people were forced into quarantine, into wearing face masks and taking experimental vaccines? A time when just leaving your house was an unwanted adventure fraught with risk – it was better to just stay indoors, curtains drawn. Darkness.
Covid 19 already (thankfully) feels like a lifetime ago. However, as with any significant worldwide event, the residue of the mess that was international travel with Covid restrictions in place is still stuck in patches.
So, what are the core requirements (ones that are unlikely to change no matter what) when travelling to the Philippines in 2024? Plus, what's etravel and how do you register?
The 4 Requirements of Travelling to the Philippines
-
Passport
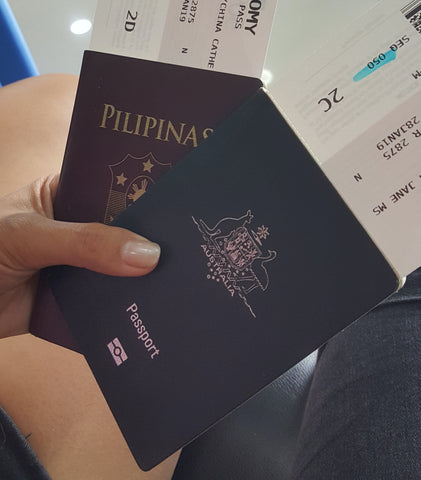
It’s so fundamental to international travel, even mentioning it feels like I’m dangerously stating the obvious. But, it’s been done before – don’t get all the way to the airport and realise you don’t have it. Put it on your checklist. Also, make sure (this goes for travelling anywhere) that your passport has at least 6 months before it’s due to be renewed.
Here’s something to ponder as you stare out the plane window: passports, as we know them today, were ushered in as a “new normal” off the back of that other catastrophic global event, World War I. They were refined from the many and varied previous documents issued by governments and kings to request safe passage for the holder while in another foreign land. So, the passport, a thing that to the modern traveller feels as though was passed down on stone tablets by Moses, is actually itself a made-up thing used to monitor movements (or provide safe passage) during a world-wide event that just never left even after that event was over.
-
Return Ticket
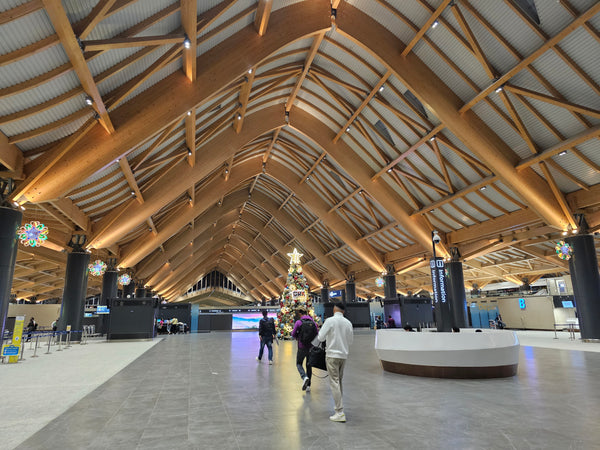
Clark International Airport, Pampanga. Photo by: China D
This one is for foreign tourists - those holding a passport that is not issued by the Philippine government. When checking in at the airport, you will be asked to show a return ticket with a date that is no later than 30 days from the day of your arrival in the Philippines.
Even if you plan to stay longer, or you’ve quit your job to travel Asia and don’t know where or when your next stop will be, you’ll have to show this. So, make sure to have your return or on-ward flight booked in advance.
If you fall into the categories just mentioned, there are ways around this requirement. You can book a “throw away” ticket - find a cheap flight to a near-by country that you’ll never take. Or, go to a website such as onwardticket.com and buy a pretend flight for a very small amount ($16 in this case).
-
Travel Insurance
During Covid, travel insurance which covered this novel virus was a requirement – you wouldn’t be allowed on the plane without it. This requirement has now been lifted. You do not need to have travel insurance in order to travel to the Philippines.However, it’s been included here because It’s better to be on the safe side, especially in a country where there can be a lot of administrative steps, even for a simple thing, and potentially many wheels to grease just to get things done. It’s one of those things that you don’t need until you do, and if you do need it, you’ll be bloody glad you have it. Plus, these days it’s so quick, easy and cheap to get travel insurance, why not?
Suggested reading:
For a detailed look at travel insurance options, see our guide https://projectgoals.org/blogs/news/best-and-cheapest-travel-insurance-that-covers-covid-19-requirements
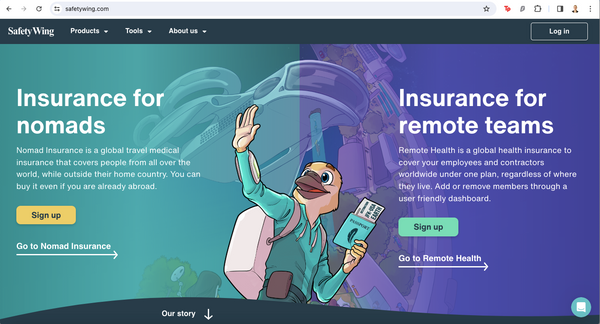
For cheap travel insurance that just covers the days you’ll be overseas, Safety Wing is a quick, user-friendly website to get yourself insured.
Alternatively, you can look into the many and varied international credit cards issued by banks around the world. Not only do they have handy features like no international fees and awards points, some have a travel insurance feature which you can activate once you have your travel dates. Two birds, one stone.
-
Register with Etravel

While a number of requirements and restrictions have been lifted on travel to the Philippines since the outbreak of Covid 19, one significant requirement, possibly ushering in a new era of Philippine travel, seems to be here to stay – the etravel register.
What is Etravel?
Simply put, etravel is a health declaration. Government authority put, it's an eHDC (electronic health declaration card). During Covid, it gave the Philippine government a place to gather traveller’s health declarations and to put them into the appropriate quarantine categories. Back then, the fully vaccinated were issued with green QR codes and set free. The partially or unvaccinated were given red QR codes and were required to quarantine.
Note: the etravel register is different and separate to the customs declaration or arrival card that you fill out on the plane or once you’ve landed. The arrival card is the usual intent of travel and goods declaration statement.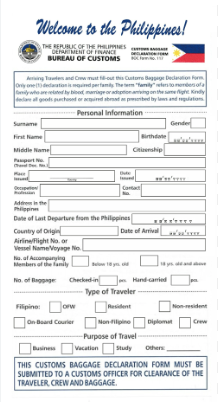
Now, if you receive a green QR code after registration, you'll have a smooth passage into the country - you'll more than likely not even be asked to show your QR code. If you receive a red QR code, it just means that your information was not fully completed or that you admitted to being sick in the last 30 days prior to travel. You'll just be asked some further questions by boarder control officers upon arrival.
Do I Need to Register for etravel?
Yes. Registering on the etravel system is mandatory. No matter your nationality or where you’re flying from, all travellers are required to register at the etravel website.
You can register online up to 72 hours before your flight (recommended for efficiency) or once you arrive in the Philippines. Either way, you will not be allowed into the country if you have not registered with etravel.
There have been some isolated incidences where travellers - for reasons known only to them - felt justified in shaping up to boarder control authorities in order to avoid completing the etravel registration (and no doubt feel superior at the same time). Well, fair warning, that type of thing doesn’t work – those travellers were black listed and sent back whence they came.
How to Register for etravel
Here we’ll cover the registration process. As you’ll soon see, it couldn’t be easier. The plot only thickens as to why some cantankerous travellers have refused to register (and been kicked out of the country). Frankly, you provide less personal information on the etravel system than you provide to your social media account.
-
Firstly, go to https://etravel.gov.ph/signin

Note: this is a government website. Do not attempt to register anywhere else or pay any money if asked by an imitator website. Registration to etravel is completely free.
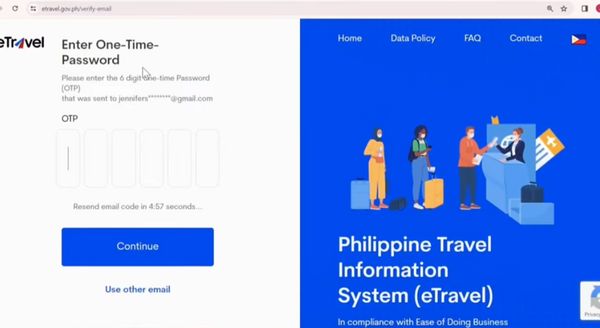
- Next: create an account by supplying your email address and creating a password. Do this by entering your email at the home page. Afterwards, a verification code will be sent to the email address you supplied. Then open your email account, find the code inside the email sent and enter the code back on the etravel website.
- You’ll then be asked to enter a password of your choice and to enter it again. Once that is completed, you have your account.

-
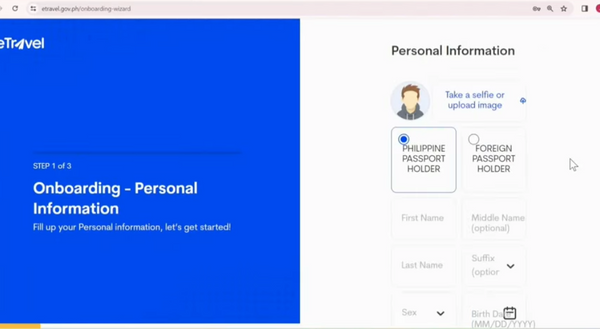
Now, simply fill out your personal information. This will include your name, passport details, country of residence and your address. You will also need to upload a photo of your face. Any old selfie will do.
If you’re travelling as a family, you can add all those travelling with you on the same account – no need to make individual accounts for each family member.
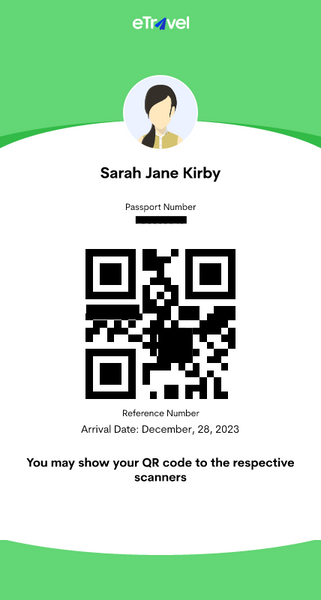
Once you’ve submitted your information, you will be emailed a QR code. Take a screenshot on your phone or print it out and bring it with you, just in case you’re asked upon arrival to produce it.
That’s it for the essential travel requirements. Easy…
But, should this prove to be difficult, you can go through this process with boarder officials in the Philippines.
After you register for etravel, you’ll notice a new feature offering for you to complete your customs online declaration form. This part is optional. You can go ahead and fill it out (if you’re sure of what you’ll be carrying) or you can complete a customs declaration form manually – with pen and paper – on the plane or at the airport upon arrival.
Last time I arrived in the Philippines my etravel wasn’t checked…
Your etravel QR code won’t necessarily be checked at the airport upon arrival. If you received a green QR code (meaning your information is complete and accepted) for the sake of smooth operations you won't be checked. Like packing extra underwear, just have it on you in the unlikely event that you'll need it. Airport staff in your country of origin won’t necessarily ask you before boarding because you can complete the etravel registration upon arrival in the Philippines.
How long will the Philippines require travellers to use etravel?
Just like passports, it looks like registering with etravel is here to stay. Are the authorities considering removing the need to fill out paper forms on arrival in favour of digital methods? Etravel, although brought in for a different, unforeseen reason (*cough* Covid), was in all likelihood also a decent test to see if it were practical to do away with arrival cards.
Interestingly, post caring if anyone has Covid or is vaccinated for it, etravel is still a requirement (one that is regularly being updated and refined), plus, arrival cards are also back.
So, it seems that instead of streamlining and digitalising the declaration methods, travellers now have two. However, the recent online customs declaration tweak to the etravel website, which gives travellers the option to fill out their declaration form alongside their etravel form, may be a sign of things to come.
For now anyway, as mentioned above, filling out your customs declaration form online is completely optional – you can still have that smug I’m-a-worldly-traveller-because-I-have-a-pen feeling on the plane as you complete your arrival card before landing. If that’s your thing.
Check list
-
Passport
-
Return ticket
-
Travel insurance
-
Register with etravel